
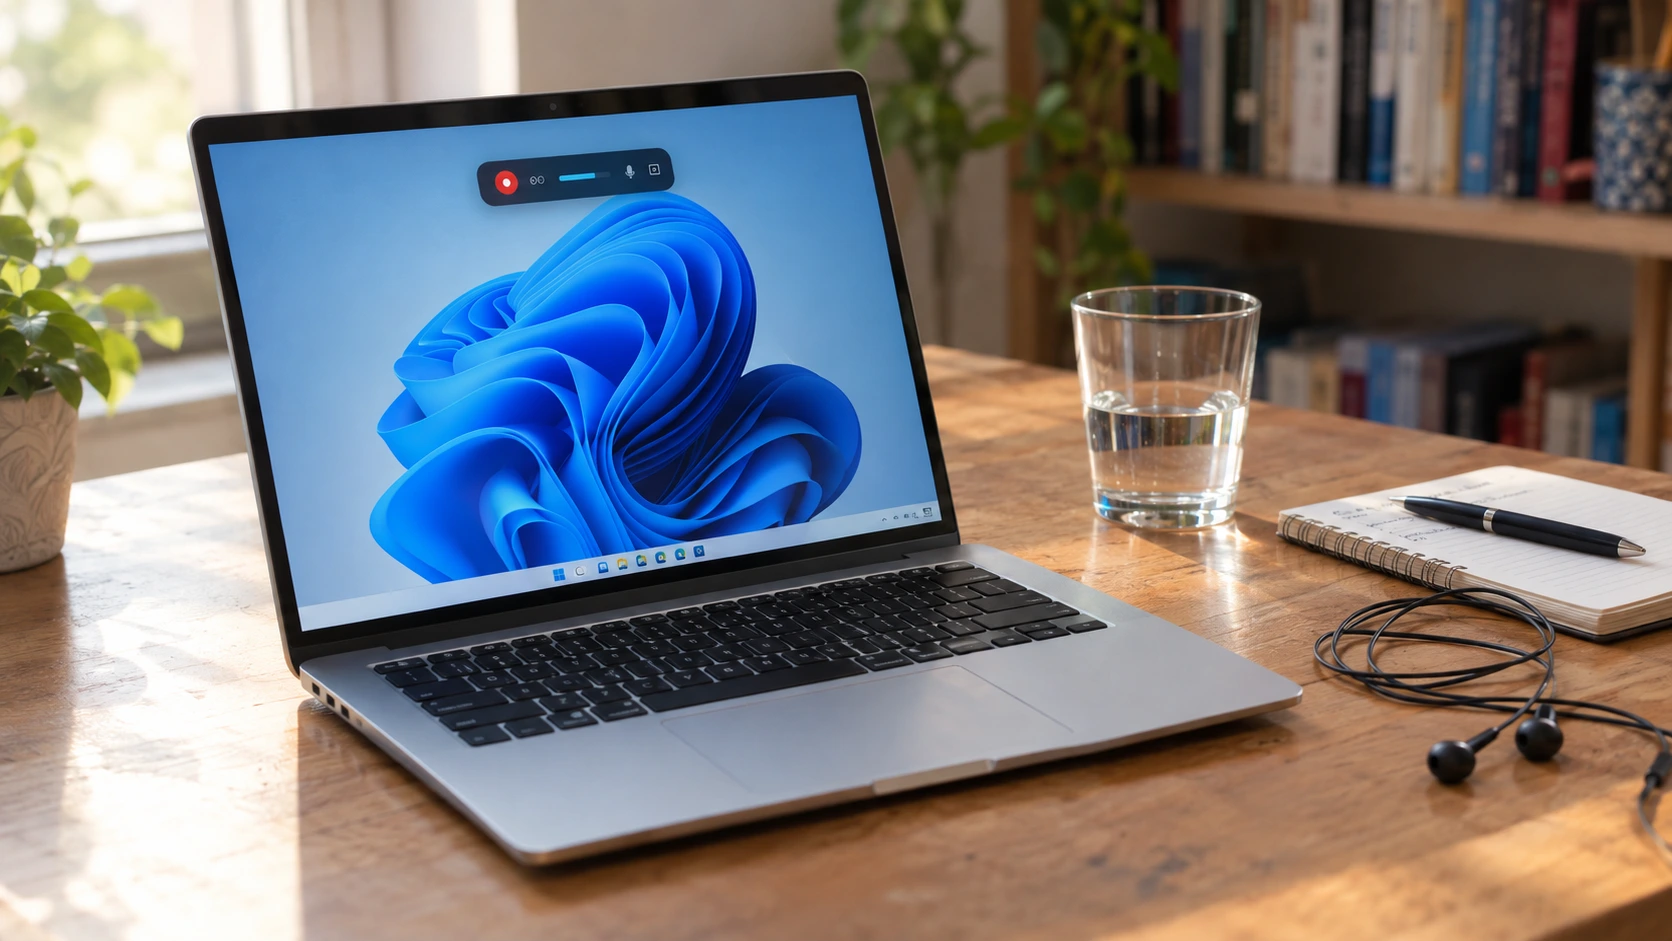
If you’ve typed “how to screen record on HP laptop” into Google, there’s a good chance you’re picturing some kind of special HP recording app tucked away in a settings menu somewhere. Here’s the truth: HP doesn’t make one. There’s no HP Screen Recorder icon sitting on your desktop, no hidden HP utility buried in the Start menu. Every HP laptop — EliteBook, ProBook, Pavilion, Spectre, Envy, it doesn’t matter which — runs Windows, and Windows already has everything you need built in, completely free.
This guide covers all four ways to record your screen: two tools built directly into Windows, one hiding inside Microsoft Office that almost nobody knows about, and one free third-party option for when you need more firepower. But this isn’t just a list of button-clicking instructions. It also covers the stuff that actually trips people up — why your recording might come out completely silent, why Windows+Alt+R sometimes does nothing at all, where your file disappeared to, and a documented bug that can wipe out half your recording if you’re not careful.
Quick Answer: Record Your HP Laptop Screen in 5 Steps
Let’s get you recording right now, and then we’ll go deeper into every method afterward.
Before anything else, understand this: HP laptops have no proprietary screen recording software. Windows handles the entire job. That means whether you bought your HP laptop last week or three years ago, the built-in tools are already sitting on your machine, ready to use, completely free.
The 5-Step Quick Method (Game Bar)
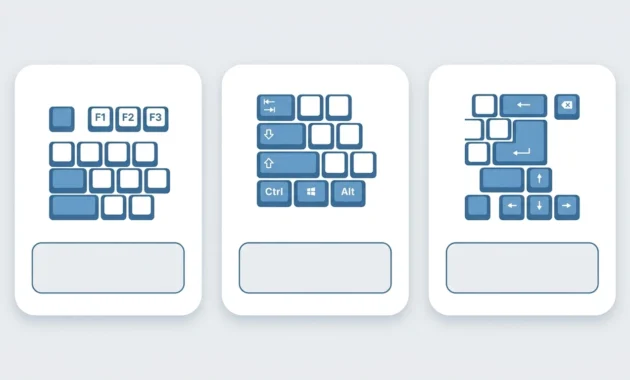
- Press Windows Key + G. This instantly opens the Xbox Game Bar — Microsoft’s built-in screen recording overlay. You don’t need a game installed, an Xbox account, or anything downloaded. It’s baked into Windows 10 and Windows 11 by default.
- If a popup appears asking “Do you want to open Game Bar?” with a checkbox underneath that says “Yes, this is a game,” check that box. You’ll only see this prompt the first time you launch Game Bar. Check it regardless of what you’re actually recording — a browser, PowerPoint, Excel, whatever. We’ll explain exactly why this matters in the next section, because skipping it is the single most common reason people think Game Bar doesn’t work.
- Start recording. You can click the white circular record button in the Capture widget that appears, or skip the menu entirely and press Windows Key + Alt + R. Either way, recording begins immediately, and the button turns red to confirm it’s running.
- Stop recording by pressing Windows Key + Alt + R again, or clicking the square stop button on the floating toolbar.
- Find your file. Windows automatically saves it as an MP4 in This PC → Videos → Captures. No “Save As” dialog, no extra steps — it’s just there waiting for you.
That’s the entire process. Free, no installation, no Xbox sign-in required. One thing worth flagging immediately: Game Bar cannot record your desktop or File Explorer windows — more on why that is later. If that’s specifically what you need to capture, skip ahead to the Snipping Tool section.
If Game Bar Doesn’t Work
If Game Bar isn’t cooperating, or you need to record something Game Bar can’t handle (like your desktop), press Windows Key + Shift + R instead. This opens the Snipping Tool’s screen recorder directly — no menus, no searching. It works on both Windows 10 (if updated) and Windows 11, and unlike Game Bar, it can record literally any part of your screen, not just the active app window.
Method 1: Xbox Game Bar (The Fastest Way to Record)
Game Bar comes pre-installed on every copy of Windows 10 and Windows 11, which is exactly why it’s the first method most people reach for. It takes about ten seconds to set up and two keystrokes to use once configured.
Setting Up Game Bar: The Checkbox That Makes or Breaks It
Here’s something almost every other tutorial glosses over, and it’s genuinely the reason a huge number of people give up on Game Bar entirely: the very first time you press Windows + G, a small window pops up asking “Do you want to open Game Bar?” Underneath that question sits an unassuming checkbox labeled “Yes, this is a game.”
It looks completely optional. It isn’t. If you click “No” or just ignore the checkbox and close the window, Game Bar will still open — but the record button becomes functionally dead. You can click it all day long, and nothing will happen. No error message pops up telling you what went wrong. It just silently fails, which is exactly why people assume their laptop is broken or that Game Bar doesn’t actually work on HP machines.
The reality is far less dramatic: this checkbox isn’t categorizing your content as a “game” in any meaningful sense. It’s a permission gate that unlocks Game Bar’s recording functionality for whatever application currently has focus — a web browser, a Word document, a Zoom call, anything. Think of it less like an honest yes/no question and more like an “I agree to continue” button that happens to be worded strangely.
So the fix, if recording isn’t working: open Game Bar again, and if you see that prompt, check the box. If you’ve already dismissed it once and recording still isn’t working, close Game Bar entirely and reopen it with Windows + G to trigger the prompt again.
Configuring Quality and Audio Before Recording
Before you record anything you plan to keep, it’s worth spending thirty seconds in the settings. Head to Settings → Gaming → Captures, where you’ll find two options that genuinely affect how your final video looks: Video Frame Rate and Video Quality.
Setting the frame rate to 30 fps gives you smooth, natural-looking motion without creating an unnecessarily large file. Bumping Video Quality to High sharpens the final result — useful if you’re recording text, UI details, or anything where clarity matters, like a software tutorial or a bug report for IT support.
Audio works differently — it’s controlled live, through the floating Capture widget that appears once you’ve launched a recording session (not through the Settings menu). There’s a microphone icon on that widget you can click to toggle your voice recording on or off, both before you start and while you’re actively recording.
Understanding Game Bar’s Time Limits
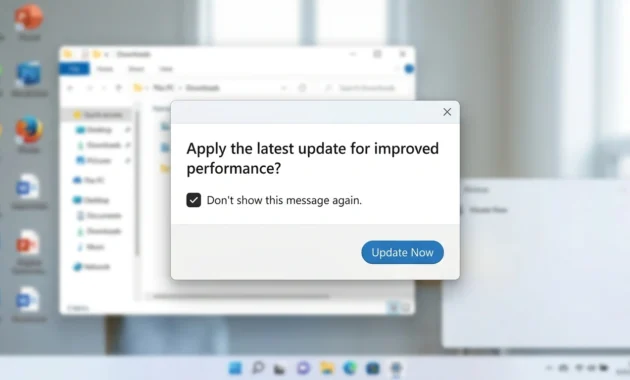
Game Bar doesn’t record indefinitely by default. It ships with a default recording limit — commonly reported around 30 minutes — though this can be extended through Settings up to a hard maximum ceiling (often cited around 4 hours). (These exact figures vary by Windows build and update — double-check your own Game Bar settings under Captures before relying on them for something time-sensitive.)
For most everyday use — a two-minute tutorial, a quick bug demonstration, a short walkthrough for a colleague — you’ll never come close to hitting this limit. But if you’re planning to record an entire lecture, a long gaming session, or an hour-long webinar, it’s worth checking your current settings beforehand so you’re not caught off guard with a recording that stops mid-sentence.
What Game Bar CAN’T Record (And Why You Should Know This Upfront)
This is the limitation that catches more people off guard than almost anything else: Game Bar cannot record your Windows desktop, File Explorer windows, the Start menu, or the taskbar. It also struggles with capturing multiple windows simultaneously — it’s built to record one focused application at a time, full stop.
This isn’t a glitch specific to HP laptops, and it isn’t something going wrong with your hardware. It’s simply how Microsoft architected the tool. Game Bar treats the Windows shell itself (desktop, File Explorer, system menus) as off-limits, while treating actual applications — browsers, games, PowerPoint, Word, YouTube — as fair game.
If you try to record your desktop and get a black screen, a “can’t record this” notification, or no response at all when you press record, that’s expected behavior. The fix isn’t to troubleshoot your laptop — it’s to switch tools. The Snipping Tool (covered next) handles desktop and File Explorer recording without any restriction.
Where Game Bar Recordings Are Saved
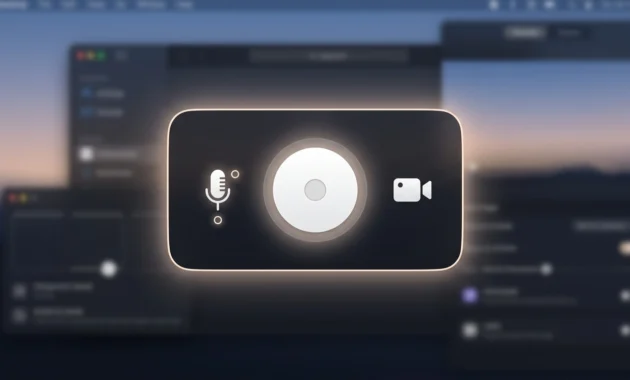
Every single Game Bar recording lands in the exact same place: This PC → Videos → Captures. Files save automatically as MP4 — no manual “Save” step required, no prompt asking where you’d like it to go. Windows just handles it.
If you’d rather recordings go somewhere specific — a project folder, a shared drive, wherever — you can change this default location anytime through Settings → Gaming → Captures, where there’s an option to pick a new destination folder.
Method 2: Snipping Tool (For Windows 11, Plus Specific Areas)
When Game Bar’s limitations start getting in your way — you need to record your desktop, you only need microphone audio and want simpler controls, or you need a recording longer than 30 minutes — the Snipping Tool (see Microsoft’s official Snipping Tool guide) is your next stop.
Version Check: Does Your Windows Support Snipping Tool Recording?
This detail gets glossed over in almost every competing guide, and it causes real confusion: Snipping Tool’s video recording feature specifically requires Windows 11, version 22H2 or later. If your HP laptop is still running Windows 10, opening Snipping Tool will only give you screenshot capabilities — there’s no video recording option anywhere in the interface, no matter how thoroughly you search the menus.
If that’s your situation, don’t waste time hunting for a setting that doesn’t exist. Game Bar (or OBS Studio, covered later) is your built-in path to screen recording on Windows 10.
To check your version: go to Settings → System → About, and look for “Windows specification.” If you’re on Windows 11 but running an older build than 22H2, run Windows Update to get access to the feature.
The Critical Setup Step: Enabling Auto-Save (Do This First)
Before you record anything you actually care about, there’s one setting you need to configure first — and skipping it is responsible for more lost recordings than any other single mistake people make with this tool.
Open Snipping Tool, click the three dots in the top-right corner, and select Settings. Under the screen recording section, toggle on “Automatically save original screen recordings.” While you’re in there, click Select Folder to pick exactly where you want your recordings to land, instead of leaving it at the default.
Here’s why this matters so much: by default, Snipping Tool does not auto-save your recordings. When you finish recording, a preview window pops up — and if you close that window without manually clicking “Save,” the recording is gone. Permanently. No warning dialog, no “are you sure,” no recovery option. You just lose it.
This single behavior is the number one source of frustration with Snipping Tool, and it’s rarely mentioned clearly in other guides. Flip that auto-save toggle on now, before you need it.
Step-by-Step Recording with Snipping Tool
Once auto-save is configured, actually recording is straightforward:
- Press Windows Key + Shift + R, or search “Snipping Tool” in the Start menu and open it manually.
- At the top of the window, switch the mode toggle from the Camera icon (screenshots) to the Video icon (screen recording).
- Click New, then click and drag your cursor across the screen to define exactly which area you want captured — this could be a small window, a browser tab, or the entire display if you drag from corner to corner.
- Before starting, check your audio toggles (covered in detail below) to decide whether you want your microphone picked up.
- Click Start. You’ll get a short countdown — typically three seconds — before recording actually begins, giving you a moment to get your window positioned correctly.
- When you’re finished, click the red Stop button on the floating control bar.
Audio Configuration: Why Snipping Tool Only Records Your Microphone
This distinction trips up more people than almost anything else in this entire guide, so it’s worth stating plainly: Snipping Tool records your microphone only. Under no circumstance, no matter what settings you toggle, does it capture system audio — meaning sounds playing through your laptop speakers, like YouTube video audio, game sound effects, music, or anything else generated by your computer itself.
If you’re recording a tutorial where you’re talking over your screen, Snipping Tool works perfectly — your narration comes through clean. But if you’re trying to record a YouTube video, a game session with sound effects, or a video call where the other person’s audio matters, Snipping Tool will produce a recording with none of that captured. Just silence where that sound should be.
This isn’t a setting you’re missing somewhere in a submenu. It’s a built-in limitation of the tool itself. If you need to capture both your voice and whatever’s playing on your screen, you need Game Bar instead — it’s the only free built-in option that handles both audio sources simultaneously.
2025 Feature: Record a Specific Window (New in Snipping Tool)
One recent addition worth knowing about if you’re on an updated system: Snipping Tool now supports recording a specific application window directly, rather than being limited to a plain rectangular area selection. This means you can isolate just one app cleanly — no taskbar bleeding into frame, no desktop icons visible in the background, no accidentally capturing your email notifications popping up in the corner.
To use it, look for a window-selection mode in the recording interface (availability depends on your current Windows update level — if you don’t see it, a Windows Update may unlock it). Once available, you simply click directly on the app window you want isolated, and Snipping Tool records just that window, cleanly separated from everything else on your screen. This is a genuinely useful upgrade for anyone making tutorials, since it eliminates the distracting background clutter that used to be unavoidable with basic rectangular selection.
Editing and Trimming Before You Save
Once you click Stop, a preview window opens automatically, letting you watch back exactly what you recorded before committing to save it. From here, you can use the built-in trim tool to cut off the beginning or end of the clip — handy if you fumbled getting your window positioned in those first few seconds, or if you kept talking for a few seconds after you meant to stop.
Trimming before saving also keeps your file size down and spares you an extra editing step later. Once you’re happy with the trimmed result, click the Save icon to finalize it to your chosen folder.
Where Snipping Tool Recordings Are Saved (Plus the Auto-Save Trap)
Assuming you’ve already enabled auto-save as covered earlier, recordings land by default in Videos → Screen Recordings — or in whatever custom folder you selected in Settings. The file saves automatically as an MP4 the moment you click Save in the preview window.
But if you skipped the auto-save setup: closing that preview window without manually saving means the recording simply ceases to exist. There’s no trash bin to check, no recovery folder, no way to get it back. This is worth repeating one more time because it’s genuinely the most common complaint about this tool — go enable auto-save now if you haven’t already.
The Pause-Resume Bug (And How to Fix It)
This is a documented quirk worth knowing about before it catches you off guard: if you pause a Snipping Tool recording partway through and then resume it, there’s a known issue where the first portion of the video can end up lost or corrupted in the final saved file. You might pause at the five-minute mark, resume, finish recording at twenty minutes, and then discover only the second half actually made it into the saved file.
If this happens to you, the fix is to reset the tool: go to Settings → Apps → Snipping Tool → Advanced options → Reset. This clears out whatever internal state is causing the issue.
As a preventative measure, if the content you’re recording genuinely can’t be redone, it’s safer to avoid the pause feature altogether — just record the full session start to finish in one continuous take, then use the trim feature afterward to cut out any parts you don’t need. If you do need to test the pause/resume feature, try it first on something low-stakes before trusting it with anything important.
Bonus: Convert Your Recording to a GIF (New in 2025)
A newer addition to Snipping Tool lets you export short clips — 30 seconds or under — directly as an animated GIF, skipping the need for a separate online converter entirely. This is genuinely handy for quick sharing in Slack, Discord, or bug-report documentation, where a short looping clip communicates something faster than a full video file someone has to download and open. Look for the GIF export option in the preview window after recording; availability depends on how current your Windows updates are.
Method 3: PowerPoint Screen Recording (For Presentations)
If Microsoft Office is already installed on your HP laptop, there’s a screen recording feature tucked inside PowerPoint that most people never stumble across, simply because it’s not where you’d expect to look for a recording tool.
When PowerPoint Is the Right Choice (And When It’s Not)
PowerPoint’s recording feature shines in one specific scenario: creating narrated slide decks, training modules, or educational content meant to live directly inside a presentation. If you’re a teacher building a lesson, a business professional putting together onboarding material, or anyone creating content where the video is meant to accompany slides, this is genuinely a great fit.
Where it falls short is anywhere you need a standalone video file — something you want to upload straight to YouTube, share as an independent clip, or post somewhere that isn’t a presentation. PowerPoint doesn’t create a separate video file by default; it embeds the recording directly into the current slide, as part of the presentation itself. That’s a deliberate design choice, not a limitation to work around — but it means PowerPoint isn’t the right tool if a standalone video is what you actually need.
Step-by-Step PowerPoint Screen Recording
- Open PowerPoint and start a new, blank presentation.
- From the top ribbon, click Insert, then select Screen Recording.
- Drag to select the specific area of your screen you want captured.
- Toggle the microphone and system audio options as needed, depending on whether you want narration, system sound, both, or neither.
- Click the circular record button to begin.
- When finished, move your mouse to the top of the screen to reveal the controls again, and click the stop button.
The recorded clip embeds directly into the slide you were working on — no extra save dialog, no file prompt. It’s simply part of your presentation now.
Exporting Your PowerPoint Recording (If You Need a Standalone Video)
If you later decide you need the video as its own file, separate from the presentation, go to File → Save Media As. This lets you choose a destination folder and export just the video component — not the entire PowerPoint file — as a standalone MP4.
This extra export step exists because PowerPoint’s recording feature was built around the presentation workflow first and standalone video sharing second. If you know from the start that you’ll need a separate file, it can be worth using Game Bar or Snipping Tool instead and skipping this extra step entirely.
Note: PowerPoint Is Windows-Only
Worth flagging if you ever work across devices: PowerPoint for Mac does not include a screen recording feature at all — it’s completely absent, not just hidden or limited. If you’re a Mac user who occasionally works on an HP laptop and wants consistency, this feature simply won’t transfer over when you switch platforms.
Method 4: OBS Studio (For Advanced Recordings and Streaming)
Is OBS Right for You? (Honest Assessment)
OBS Studio is free, fully open-source, and genuinely powerful — but it’s not something to attempt five minutes before an important recording with no prior experience. Realistically, budget an hour or two to get comfortable with the interface before relying on it for anything that matters.
If you just need to record a quick tutorial or a short demo, OBS is overkill — stick with Game Bar or Snipping Tool, which take seconds to set up. But if you’re planning to livestream, need to record multiple sources at once (like your webcam and screen simultaneously), or want professional-level control over video quality and bitrate, OBS earns every bit of its reputation among content creators and streamers.
What OBS Can Do (That Built-In Tools Can’t)
OBS unlocks capabilities that neither Game Bar nor Snipping Tool offer. It can record your full desktop alongside multiple application windows at once, layer your webcam feed directly over your screen recording, and stream live to platforms like Twitch or YouTube in real time. You get granular control over bitrate and output quality, the ability to mix multiple audio sources independently (so your microphone and system sound can be balanced separately rather than just toggled on or off), and custom scene transitions if you’re building something closer to a produced video than a quick screen capture.
Basic OBS Setup Overview
Download OBS for free from its official website, then run through the auto-configuration wizard, which handles most of the technical settings for you automatically. From there, you’ll need to understand two core concepts: a Scene (essentially a saved layout of what you’re recording) and a Source (the specific input — a window, an app, your webcam, or your full desktop — that feeds into that scene).
Add a Scene, then add a Source telling OBS exactly what to capture. Adjust your output folder and quality settings under the Settings menu if the defaults don’t suit you. Before relying on OBS for anything important, record a short test clip first — community support exists, but there’s no official Microsoft-style help desk if something goes wrong mid-setup, so it pays to iron out issues on a low-stakes test first.
When to Skip OBS and Use Game Bar or Snipping Tool Instead
If you’re a casual user recording something once — a bug report, a quick how-to for a family member, a one-off tutorial — OBS is genuinely more tool than you need. Save the learning curve for when you actually need streaming or multi-source recording. For everything else, Game Bar and Snipping Tool together cover the vast majority of real-world screen recording needs.
Choose the Right Method: Decision Matrix by Use Case
There’s no single “best” screen recording tool — only the best tool for whatever you’re specifically trying to do. Here’s how to think through it.
If You’re Recording a Tutorial or Demo (App/Game)
Use Game Bar if your recording will run under 30 minutes — it’s the fastest setup with no extra configuration. Switch to Snipping Tool if you specifically need to record a particular area or desktop region, or if you expect to go beyond that default time window. Reach for OBS only if you need to customize video quality beyond what the built-in tools offer, or want to add overlays and branding.
If You’re Recording a Meeting or Lecture (Longer Content)
Snipping Tool is the safer default here, since it has no hard-coded time limit the way Game Bar does. Game Bar still works if your session stays under 30 minutes, or if you’re willing to adjust its settings beforehand to extend that window. For anything involving multiple participants or sources at once, OBS becomes worth the setup time.
If You Need System Audio (YouTube, Music, Game Sounds)
This one matters more than people realize: use Game Bar, because it’s the only free built-in tool that captures both your microphone and system audio together. Snipping Tool is off the table here entirely — it’s microphone-only, and nothing you toggle in its settings will change that. PowerPoint works if you’re embedding the recording in a presentation and want both audio sources. For advanced mixing between multiple audio inputs, OBS gives you the most control.
Comparison Table
| Method | Best For | Time Limit | Audio Captured | Learning Curve | Cost |
|---|---|---|---|---|---|
| Xbox Game Bar | Apps, games, quick tutorials | ~30 min default (extendable, ~4 hr max) | Microphone + System | Easy | Free |
| Snipping Tool | Specific areas, desktop, File Explorer | No documented limit | Microphone only | Easy | Free |
| PowerPoint | Narrated presentations, training decks | No limit (embeds in slide) | Microphone + System | Easy | Free (with Office) |
| OBS Studio | Streaming, multi-source, advanced control | No limit | Microphone + System (customizable) | Steep | Free |
For most people, Game Bar and Snipping Tool together will handle well over 90% of everyday screen recording needs — PowerPoint and OBS exist for the more specific scenarios where they genuinely shine.
How to Add Audio to Your Screen Recording
Getting audio right is one of the most common sticking points in screen recording, mostly because different tools quietly handle it in different ways — and nobody tells you that upfront.
Audio Guide: Game Bar (Has Both Microphone and System Audio)
Game Bar’s audio controls live on the floating Capture widget that appears once you start a recording session — not buried in a settings menu. There’s a microphone icon you can click to mute or unmute your voice at any point, including mid-recording. Both microphone and system audio are typically enabled by default, so it’s worth glancing at that widget before you hit record to confirm the settings match what you actually want captured.
Audio Guide: Snipping Tool (Microphone Only — No System Sounds)
Worth stating one final time, because it genuinely is the source of the single most common disappointment with this tool: Snipping Tool never captures system audio, under any configuration. If your screen has sound playing through your speakers — a YouTube video, background music, a notification chime, game audio — none of that will appear in your final recording.
This isn’t a bug you’re triggering by accident, and it’s not a hidden setting you’re failing to find. It’s simply how the tool is built. If silent screen captures of yourself narrating over static content are exactly what you need, Snipping Tool is perfect. If you need to capture sound coming from your computer itself, you need Game Bar instead.
Selecting Your Microphone Device
If you’ve got more than one audio input available — your laptop’s built-in microphone, a USB mic, or a headset — both tools let you pick which one actually gets used. In Snipping Tool, click the small arrow next to the microphone icon to see your available devices and select the right one. In Game Bar, this is handled through Settings → Gaming → Captures, under the audio options. This matters more than people expect, especially if you’ve recently plugged in external audio hardware and your laptop defaulted back to its built-in mic without you noticing.
Where Are Your Screen Recordings Saved? (And How to Find Them)
File Locations by Tool (Quick Reference Table)
| Tool | Default Save Location | File Format | Can Change Location? |
|---|---|---|---|
| Xbox Game Bar | This PC → Videos → Captures | MP4 | Yes (Settings → Gaming → Captures) |
| Snipping Tool | This PC → Videos → Screen Recordings | MP4 | Yes (Three dots → Settings → Select Folder) |
| PowerPoint | Embedded in slide (export via File → Save Media As) | MP4 (on export) | N/A |
| OBS Studio | User-defined folder | MP4 (or other, user-selected) | Yes (Settings → Output) |
Notice that Game Bar and Snipping Tool save to two completely different subfolders inside Videos — Captures versus Screen Recordings. This trips people up constantly. If you recorded with one tool and go looking in the other tool’s folder, you’ll come up empty and assume the file vanished, when really you’re just checking the wrong place.
“I Can’t Find My Screen Recording” — Troubleshooting
If your file seems to have disappeared, work through this checklist in order:
First, did you enable auto-save in Snipping Tool before recording? If not, and you closed the preview window without clicking Save, the file genuinely doesn’t exist anymore — there’s no hidden recovery option.
Second, confirm you’re checking the correct subfolder. Game Bar goes to Captures; Snipping Tool goes to Screen Recordings. These are not the same folder.
Third, sort your Videos folder by “Date Modified” to surface the most recent file at the top, in case it saved with an unexpected filename.
Fourth, try typing “mp4” directly into the Windows search bar — this searches your entire system and will surface the file regardless of which folder it landed in, as long as it was actually saved.
The good news: in the vast majority of cases, the file isn’t truly lost — it’s either sitting in a folder you didn’t think to check, or it was never saved in the first place because auto-save wasn’t configured.
How to Change Your Default Save Location
If you’d rather have recordings automatically land somewhere more convenient — a specific project folder, a shared network drive, an external hard drive — both tools support this. For Game Bar, go to Settings → Gaming → Captures and change the folder listed there. For Snipping Tool, open the three-dot menu, go to Settings, and use Select Folder. For OBS, this lives under Settings → Output, where you specify your recording destination directly.
Screen Recording Not Working? Troubleshooting Guide
Most screen recording failures come down to a handful of predictable, fixable causes — not a broken laptop. Here’s how to diagnose and fix the most common issues. If your screen itself goes dark and the problem has nothing to do with recording, follow our guide to fix an HP laptop black screen instead.
Game Bar Record Button Doesn’t Work? Check This First
This is, by a wide margin, the number one cause of Game Bar appearing “broken”: did you check “Yes, this is a game” the first time Game Bar prompted you? If you skipped it, or accidentally clicked no, the record button will sit there completely unresponsive no matter how many times you click it. Reopen Game Bar with Windows + G, look for that prompt again, and check the box this time. If you’ve already checked it previously and it’s still not working, try fully closing Game Bar and reopening it fresh.
Game Bar Won’t Open (Windows + G Does Nothing)
A few possible causes here. First, Xbox Game Bar itself might not be enabled — check Settings → Gaming → Xbox Game Bar and confirm the toggle is switched on. Second, the Xbox app (which Game Bar relies on) might not be installed; it’s usually pre-loaded on Windows, but if it’s missing, it’s a free download from the Microsoft Store. Third, and this one’s easy to miss: Game Bar only opens when you’re focused inside an actual application — it won’t launch if your active window is File Explorer or the bare desktop. Click into a browser or any app first, then try the shortcut again.
Recording Starts But Immediately Stops
This usually points to one of two culprits: outdated graphics drivers, or a pending Windows update. Update your graphics driver through your laptop manufacturer’s website or Windows Update’s optional updates section, and separately check for any pending Windows updates under Settings → Windows Update. Either one can interfere with Game Bar’s recording pipeline, and updating typically resolves it. If your laptop also lags or freezes while recording, learn how to fix a slow PC before you try again.
Recording Has No Audio
Work through this in order: check whether the microphone icon is muted on your recording widget — click it to toggle on if so. If you’re using Snipping Tool and expected system sound (not just your voice) to be captured, that’s the actual issue — Snipping Tool simply doesn’t do that; switch to Game Bar instead. Finally, check your Windows sound settings directly (Settings → Sound → Input) to confirm your microphone is selected correctly and showing input levels when you speak.
Snipping Tool Recording Disappeared After Closing Preview
This almost always traces back to one thing: auto-save wasn’t enabled before you recorded. Unfortunately, if that’s what happened, the file is genuinely gone — there’s no way to recover it after the fact. Go enable auto-save now in Snipping Tool’s Settings menu so this doesn’t happen again on your next recording.
Recording File Is Corrupt or Won’t Play
If you paused and resumed your recording partway through, this is likely the documented pause-resume bug covered earlier — try resetting Snipping Tool through Settings → Apps → Snipping Tool → Advanced options → Reset. If that’s not the cause, try opening the file with a different player (VLC handles a wider range of formats than Windows’ default player). In rare cases where the app crashed mid-recording, the file may simply be incomplete, and re-recording is the only fix.
Keyboard Shortcut Isn’t Working
Double-check you’re using the right combination: Windows + G opens Game Bar, Windows + Alt + R starts or stops recording directly, and Windows + Shift + R opens Snipping Tool’s recorder. If the shortcut genuinely isn’t responding, confirm you’re focused inside a compatible app (not the desktop or File Explorer), try launching the tool manually through the Start menu search instead, and check whether another application running in the background has claimed that same keyboard shortcut for itself.
After Recording: Editing, Sharing, and Storage
Quick Editing in the Preview Window
Both Game Bar (through its connection to Windows Photos) and Snipping Tool (directly in its own preview window) offer basic trimming — cutting off the start or end of a clip. This covers the most common editing need: removing dead air before you started talking or after you finished. For anything more involved — cropping, adding text overlays, splicing multiple clips together — you’ll need separate software.
File Format and Size
Every built-in tool covered here saves recordings as MP4, a universally compatible format that plays on essentially any device or platform without conversion. File size scales with both duration and quality setting — a ten-minute recording at High quality might land somewhere in the 50–100 MB range, though this varies based on screen content and motion. Trimming unnecessary footage before saving or sharing keeps file sizes manageable.
Where to Edit Beyond Built-In Tools
If you need more than basic trimming, there are solid free options: Windows Photos handles simple cuts and basic adjustments, Clipchamp (free, built into Windows for most users) offers a more complete editing timeline, and VLC can handle format conversions if needed. For professional-grade editing, Adobe Premiere or Final Cut Pro are the standard choices, though they come with a learning curve and, in Premiere’s case, a subscription cost. If your recording came from PowerPoint, remember you’ll need to export it first via File → Save Media As before any external editor can open it.
Sharing Your Recording
For smaller files, email works fine as long as you’re under typical attachment limits (usually around 25 MB). For anything larger, cloud storage services like OneDrive, Google Drive, or Dropbox handle large video files far more gracefully, letting you share a link instead of the actual file. If you’re sharing publicly, YouTube is the standard choice; for team or community sharing, platforms like Teams, Slack, or Discord handle video uploads directly. One final note worth taking seriously: before sharing any screen recording, double-check it for sensitive information — passwords, personal data, open tabs you’d rather not broadcast — since it’s easy to forget what was visible on screen during recording.
Frequently Asked Questions
Do I need an Xbox account to screen record with Game Bar?
No. You don’t need to be signed into Xbox at all for Game Bar’s recording feature to work. If you’d rather not be logged in for privacy reasons, you can sign out of the Xbox app directly through Game Bar’s settings — the recording function works the same either way.
Why can’t Game Bar record my desktop or File Explorer?
Game Bar is built specifically to record active applications — browsers, games, Office programs — not the Windows desktop or system-level menus like File Explorer. This is intentional, not a bug. If you need to capture your desktop or File Explorer specifically, use the Snipping Tool instead, which has no such restriction.
Can I screen record on Windows 10, or do I need Windows 11?
Yes, Windows 10 fully supports screen recording through Xbox Game Bar — that part works identically on both versions. The limitation is specifically with Snipping Tool’s video recording feature, which requires Windows 11 version 22H2 or later. On Windows 10, Game Bar (or OBS Studio) is your built-in path to recording.
How long can I record for? Is there a time limit?
Game Bar has a default limit, commonly around 30 minutes, which can be extended in its settings up to a maximum ceiling (often cited around 4 hours) — check your own system’s Gaming settings to confirm your current limits. Snipping Tool has no documented strict time limit, making it a better fit for longer recordings. PowerPoint and OBS similarly have no fixed limit.
Why is my screen recording silent? How do I get audio?
First, confirm you actually toggled audio on before recording started. Second, consider which tool you used: Game Bar captures both microphone and system audio, but Snipping Tool captures microphone only — it will never pick up sounds playing through your speakers, regardless of your settings. If you need to capture computer sound (not just your voice), switch to Game Bar.
2 comments